Table of Contents
**This page contains affiliate links and I will be compensated if you make a purchase after clicking on my links**
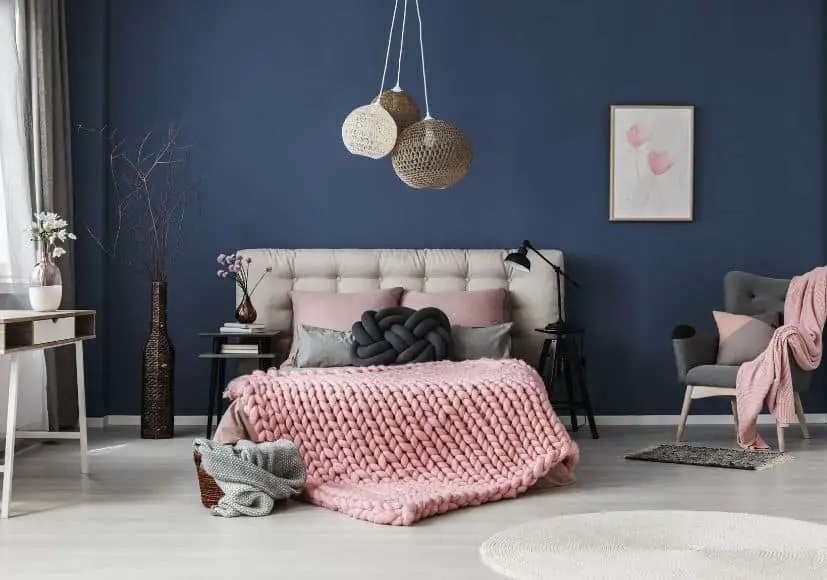
I’ve lived in “earthquake country” for several decades, but fortunately, the most I’ve felt is a tiny rattle of the windows.
Nonetheless, like my fellow Californians, I take precautions. One of those precautions is to never hang heavy items above my bed. In case of an earthquake, I’d rather not be decapitated…
If you have a queen- or king-sized bed it may be tempting to mount a large picture to fill the space. You are still welcome to do that, just make sure that picture won’t hurt you if it lands on you in the middle of the night.
- For above the bed, mount only lightweight materials that won’t break on impact if/when they fall and are of low risk of hurting you and your sleeping family
Here are a few commonsense guidelines:
NO GLASS
If it falls, glass can break and cut up your face. Or open an artery…
Does the art that your placing above your bed need glass? If so, consider a less expensive frame made from plastic.
Lightweight (or NO) frames only
Glass or no glass, is the frame made of metal? With sharp corners and edges? How about wood?
If you must use a frame, pick one with rounded edges, preferably made of plastic meant to look like either wood or metal. (As a bonus, it will cost significantly less.)
No heavy or sharp materials above the bed
Pictures aren’t the only danger. Consider that metal sculpture with sharp edges. Perhaps mount it elsewhere.
Do you have light sconces directly above your bed? If they have covers made of glass, switch those out with covers made of paper, plastic, fabric, or a similar lightweight material.
Perhaps a shelf of knick-knacks? Paperback books are fine but place the hardcovers somewhere else. Stuffed animals are also fine. Snow globes, not so much…
Alternative picture mounts
Your typical picture has a wire attached to the top two corners. You simply hang it on the wall via a hook or a nail.
Today, there are alternatives that can hold your art more securely. Assuming your picture is lightweight, you can use special removable putty or sticky strips. These can be used to mount the picture itself or added to the corners of an already mounted picture.
Note, that in case of earthquakes, ANY picture mount can fail.
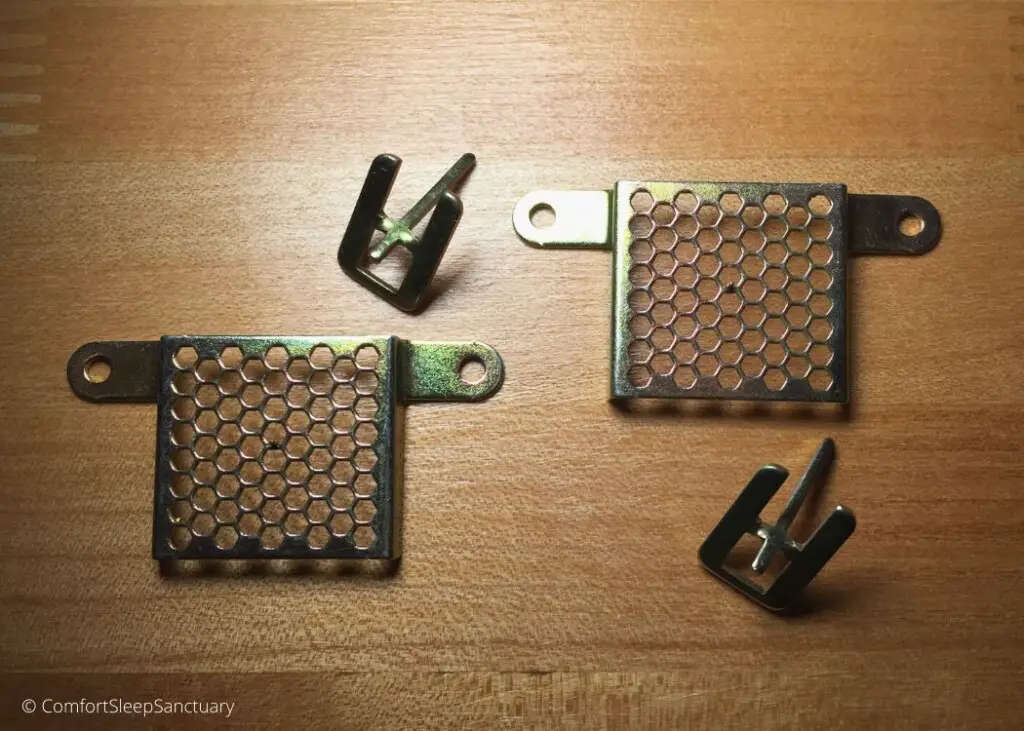
One that I’ve used are Beehive Picture Hangers. I don’t use these for earthquakes, but instead a more immediate problem with a cat that likes to paw at pictures and set them swinging…
It’s very annoying to be constantly straightening tilted frames.
These hangers allow your picture to attach to the wall in two places, rather than one.
They are simple to mount. Use the included screws to attach two “beehive” grids on the top left and right corners of your picture. It’s not obvious in the photo above, but each grid has a tiny metal guide in the middle that pokes out.
Place the picture where you want it and push on each corner. The tiny metal guide will create an almost invisible dimple in your wall at the left and right corners. Use these dimples to install the two included hooks.
Then place your picture on the wall, using the grids on each end to sit on the hooks. Because they are grids, you may raise or lower either side a tiny bit until the picture appears “straight”.
Safe(r) alternatives for pictures above the bed
There’s no décor law that states you must hang pictures above your bed. Consider some alternatives.
Canvas transfers
Some of my favorite pictures have no cover of either glass or plastic and no frame. Consider a canvas transfer.
This technology has been around for quite some time. You can have your favorite poster or photo printed and transferred on to a canvas. The picture now takes on the fabric texture of the canvas.
This canvas is the same heavy fabric that artists use to paint their masterpieces. It’s lightweight and simply needs a light wooden frame behind it.
This process is almost magical. I’ve had boring two-dimensional posters transformed into pictures with so much depth that my friends were convinced they were real paintings!
And no glass required.
You have the option of placing your canvas transfer within a traditional frame. But for above the bed, it’s not recommended. In most cases, the printed canvas extends beyond the sides of the internal frame, so an external frame is not needed.
The internet has lots of options. You may use a photo of your own or choose from a large catalog of other art at all price points. Here’s a short list to get you started:
If they don’t have a catalog of other art, and you don’t have a photo of your own, feel free to raid the internet for a picture of your choosing. If you like (free) photography, check out Pexels, Pixabay, or Unsplash. Most photos are available in high resolution. Did I mention they were free?
Fake pictures
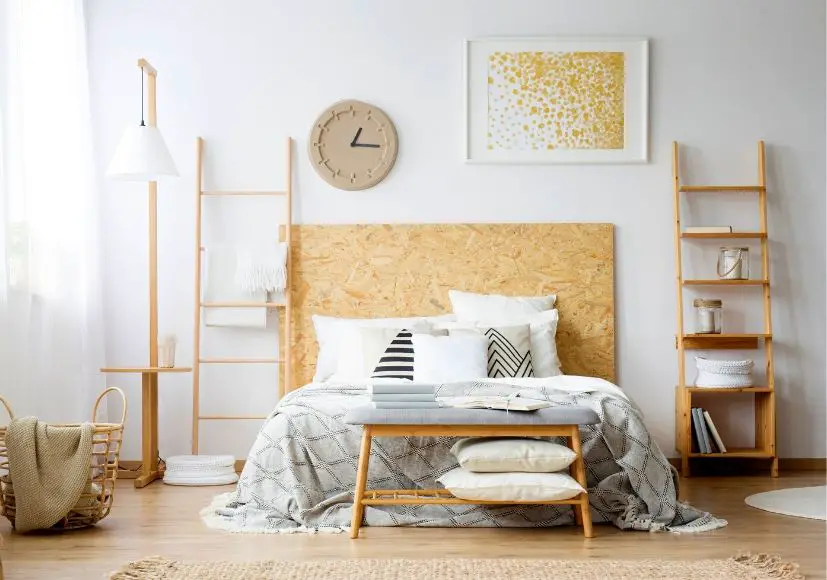
Purchase wood or MDF trim (wall molding) from your local hardware store and cut it into four pieces to create a fake picture frame. You can paint the pieces to match your wall or choose a contrasting color.
Glue and nail your “picture frame” to the wall. If you like, you can paint the part of your wall that appears inside of the frame a different color.
You can leave it “empty”, or add self-adhesive wallpaper cut to size. Or place an unframed canvas transfer within.
Hang curtains or a tapestry
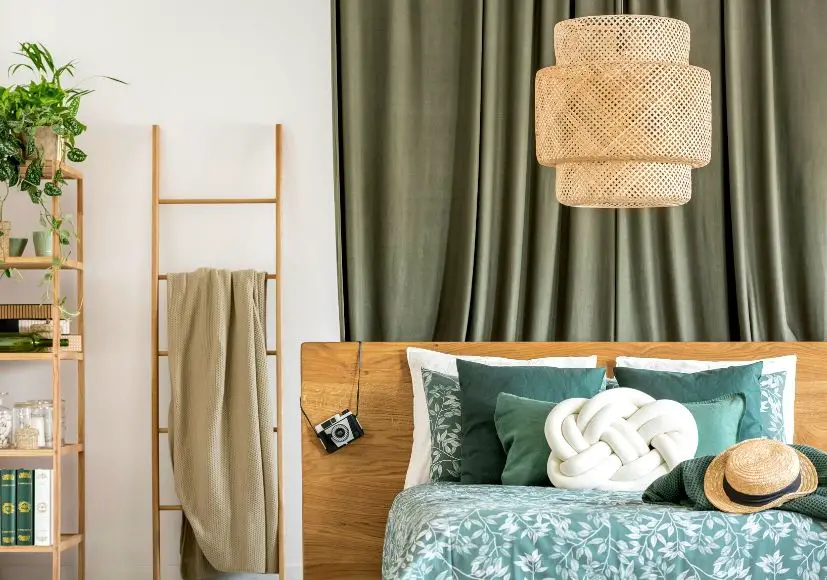
Another option is to hang curtains behind your bed. If they match those on your window this gives the illusion that you have multiple windows in your bedroom.
(Don’t like your ugly 90’s-era mirrored closets? Cover them with curtains as well.)
Also consider a colorful tapestry or rug above your bed.
If you do hang a curtain, give the heavy wrought-iron curtain rod a pass. Instead, use a curtain rod made of lightweight plastic.
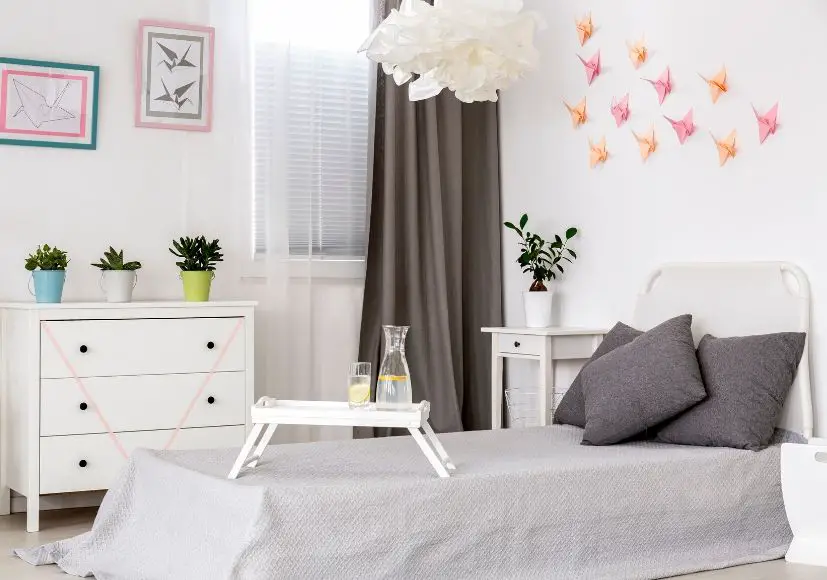
Lightweight art alternatives
The art above your bed doesn’t need to be a traditional square picture. Consider some other ideas.
- Paper art, such as origami
- Baskets
- Macramé
- A large decal of your favorite phrase
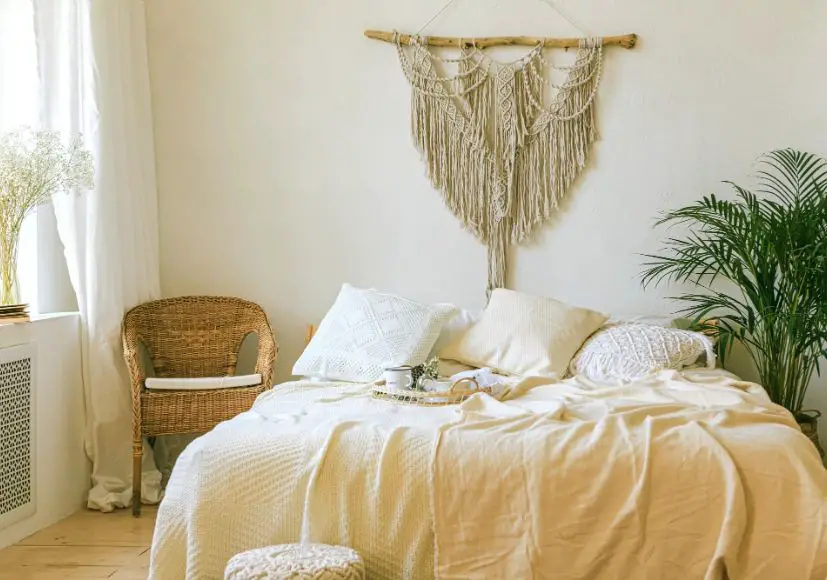
Accent wall behind the bed
Do something different with the wall behind your bed. Add a contrasting color or wallpaper. Some “wallpaper” can be used to create a large mural.
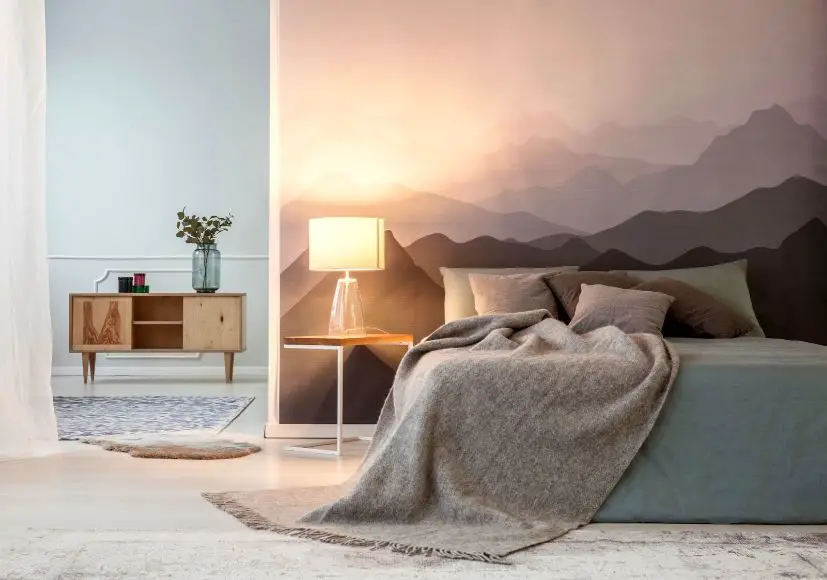
Use stencils to paint a unique pattern of your own.
Glue and nail wood paneling across this wall (or wallpaper of wood paneling). Wood can be left natural or painted to complement your décor.

Alternatively, you can also use strips of wood or MDF wall molding to create large “picture frame” patterns that stick out from the wall. Go with simple squares or get creative with diagonals or other patterns. Paint the trim to match your walls or go with a complimentary color.
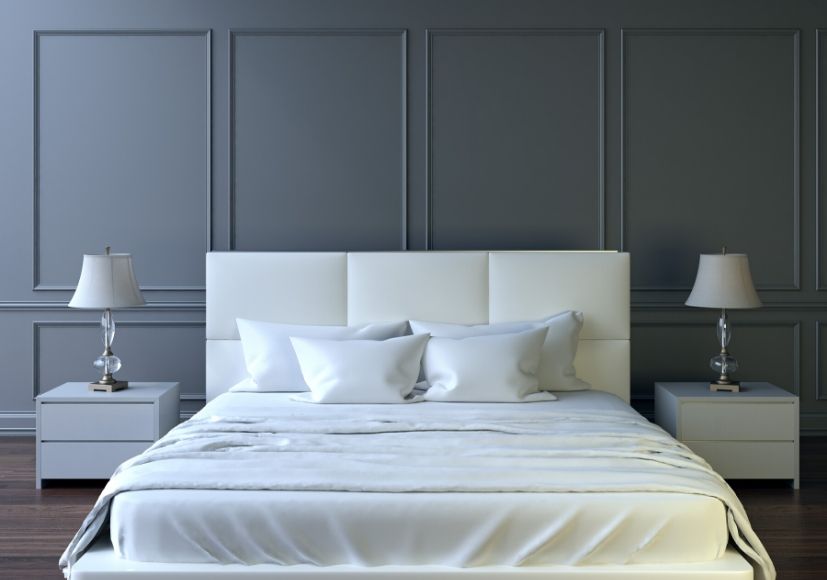
Oversized fake headboard
If you don’t want to trick out an entire wall, consider just the area around your headboard. For example, limit wood paneling to the width of your bed and halfway up the wall.
This will create the illusion of a second headboard.
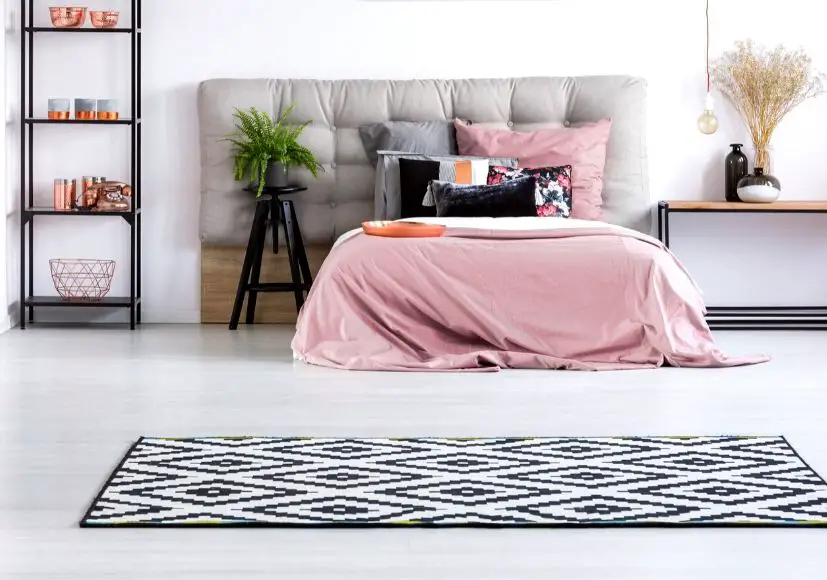
You can also build a real oversized headboard, covered with fabric and stuffed with foam. But instead of attaching this headboard to your bed, attach it to the wall using glue and nails.
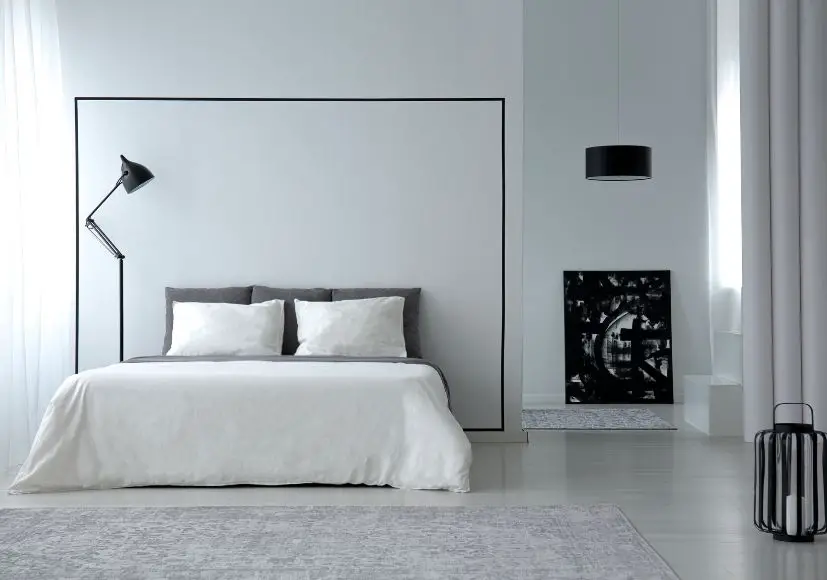
Embrace minimalism
Or simply leave the area above your bed blank. If you have décor everywhere else, then leave that space to “breathe”.
Alternatively, embrace minimalism and edit your décor everywhere, including above the bed.
Top image © KatarzynaBialasiewicz via Canva.com
Want to learn more about the products mentioned?
[If you experience issues with menus or links not working, it is most likely due to your Ad blocker.]

